Wilton Classes 2 and 3
and Why I Wear a Mask

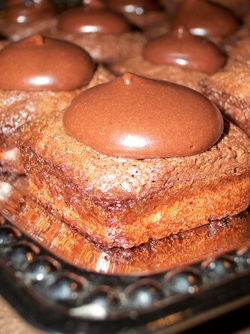
Gluten and dairy free chocolate cake with mocha butter cream frosting. Covered in fondant and decorated with fondant roses.
I feel terrible for not updating the progress that I have been making with my Wilton classes. The truth is, I have been baking and cake decorating like crazy! I have made cakes for the gluten and dairy eaters as well as cakes without gluten or dairy for practice.
Which brings me to a very important matter. If you can not tell already, baking is one of my absolute favorite things to do! I never turn down a baking opportunity or challenge... at least I didn't until a couple of months ago.
One day in baking class, I was working next to one of my classmates who was sifting flour. I was not paying attention, and to be honest, at the time I gave it no thought. There he was, sifting away, while I worked and talked to a friend, when I began to notice the flour was now in a cloud around my face. I immediately ran to the rest room, washed my face, and rinsed out my mouth and tried to convince myself that it would be alright and that it was not going to make me sick. I went back to my work and carried on the rest of my day until the all too familiar symptoms began.
By this time my stomach was swollen beyond belief, and my husband asked a very good question: "What did you eat?" I had no idea what it could have been. It was not until I randomly told him about something that happened in class that it suddenly dawned on me that it could only be the flour that wafted though the air. I was ingesting the flour without even realizing it!
Needless to say, I was very sick, very weak, and very annoyed. Annoyed because it meant that it was not enough to avoid eating gluten, but I could no longer be too close to it. I even googled it, and found many others who have had the same problem.
Since that day, anytime I make something that contains flour, I wear a mask or have someone else do the bulk of the work. It probably sounds really silly, and a bit dramatic, but the consequences are definitely not worth it! I let everyone know at school, and they were very supportive. Now my classmates let me know when they are using flour and they will call out if flour has been sifted or if a lot is on the table. Sometimes my instructors will tell me not to even enter the back shop, because flour is in the air from restocking the bins. Its good to know that people actually care :)!
On to the classes. Like I said before, I have been been very busy baking and decorating, Here are some of the flowers that I learned how to make in my Wilton classes.
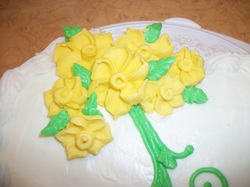
Royal Icing daffodils (Class 2)
Royal icing roses. I had trouble getting a good picture of these.
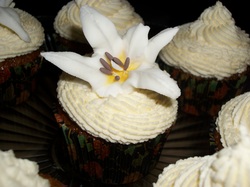
Royal Icing Lily (Class 2)
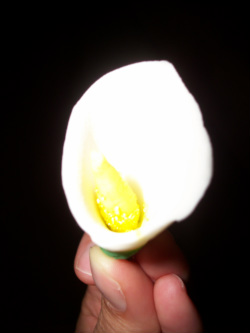
Fondant/Gum paste Cala Lily (Class 3)
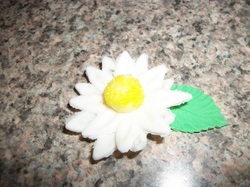
Fondant/ Gum paste daisy (Class 3)
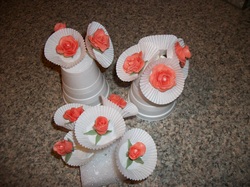
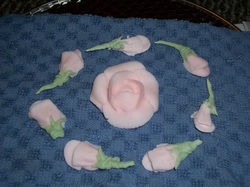
Fondant / gum paste roses (Class 3)
There were more flowers that I learned to make, but I forgot to get pictures. I thoroughly recommend taking these classes. Especially, since there are so many birthdays and other celebrations the you can use these skills for. Have a beautiful gluten and/ or dairy free day!


 RSS Feed